Release Notes:
- Added documentation on how to set up Claude as the assistant.

---------

Co-authored-by: Peter Tripp <petertripp@gmail.com>
Co-authored-by: Gilles Peiffer <gilles.peiffer.yt@gmail.com>
Co-authored-by: Peter Tripp <peter@zed.dev>
8.5 KiB
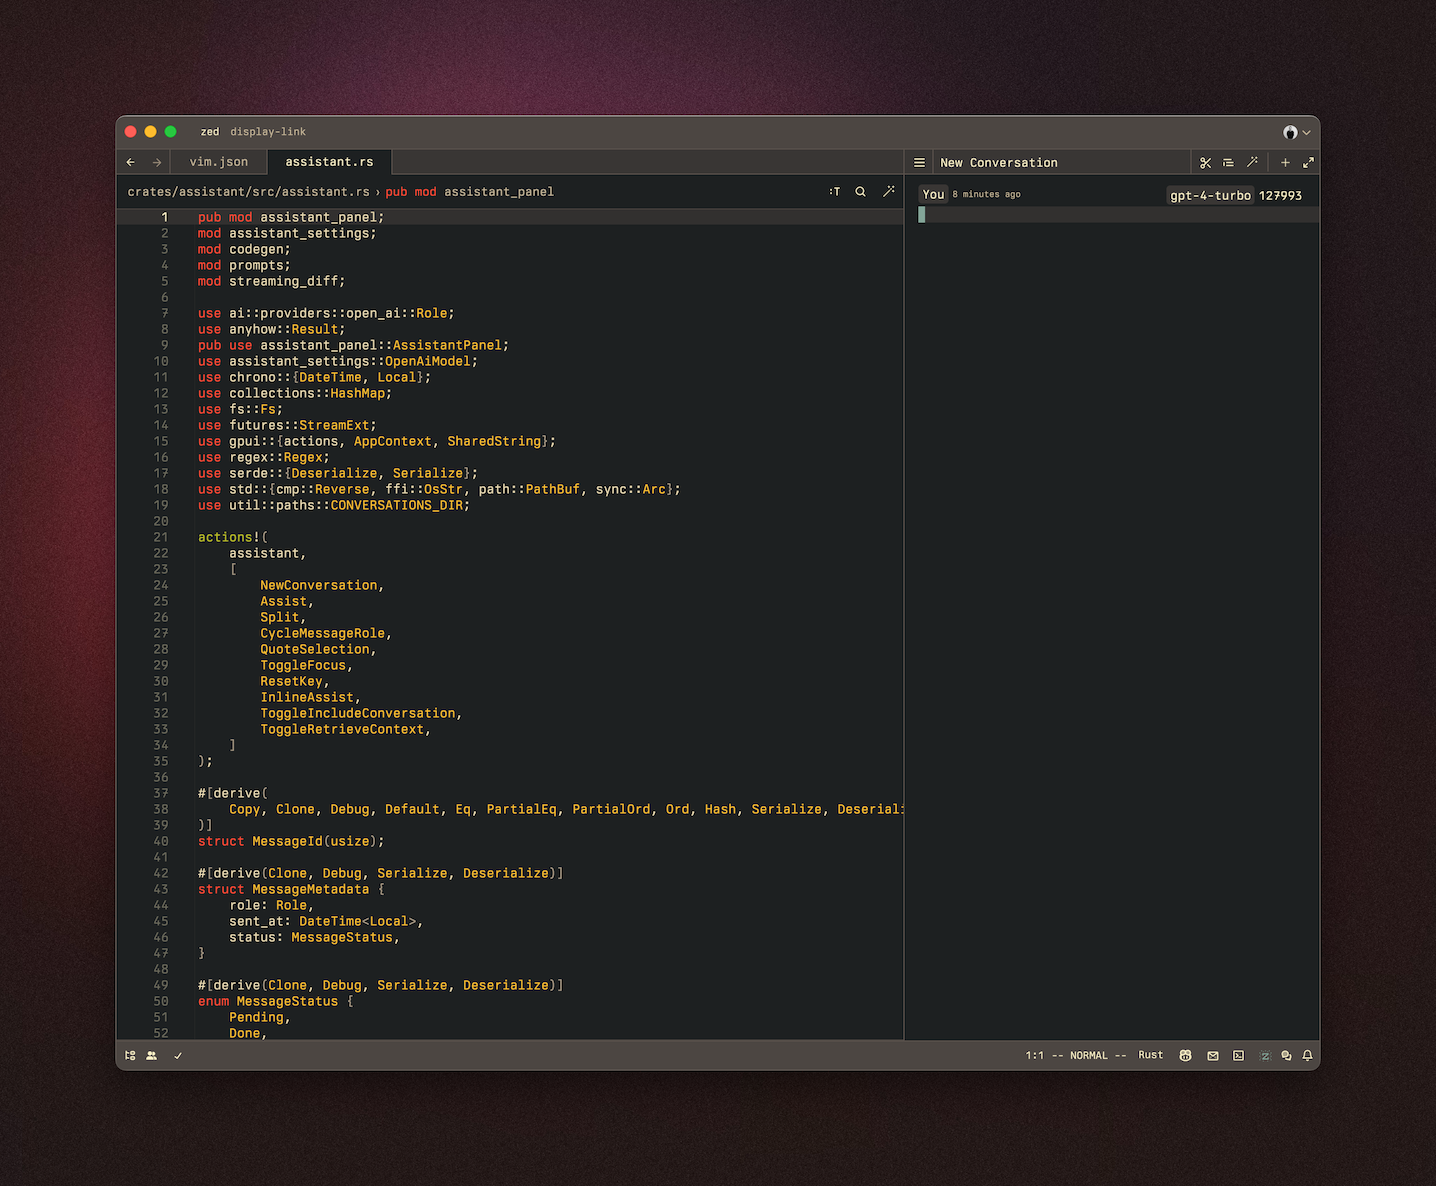
Assistant Panel
The assistant panel provides you with a way to interact with OpenAI's large language models. The assistant is good for various tasks, such as generating code, asking questions about existing code, and even writing plaintext, such as emails and documentation. To open the assistant panel, toggle the right dock by using the workspace: toggle right dock action in the command palette (cmd-shift-p).
Note
: A default binding can be set to toggle the right dock via the settings.
Setup
-
Create an OpenAI API key
-
Make sure that your OpenAI account has credits
-
Open the assistant panel, using either the
assistant: toggle focusor theworkspace: toggle right dockaction in the command palette (cmd-shift-p). -
Make sure the assistant panel is focused:
-
Open the command palette (
cmd-shift-p) and use the now-availableassistant: reset keyaction to set your OpenAI API key: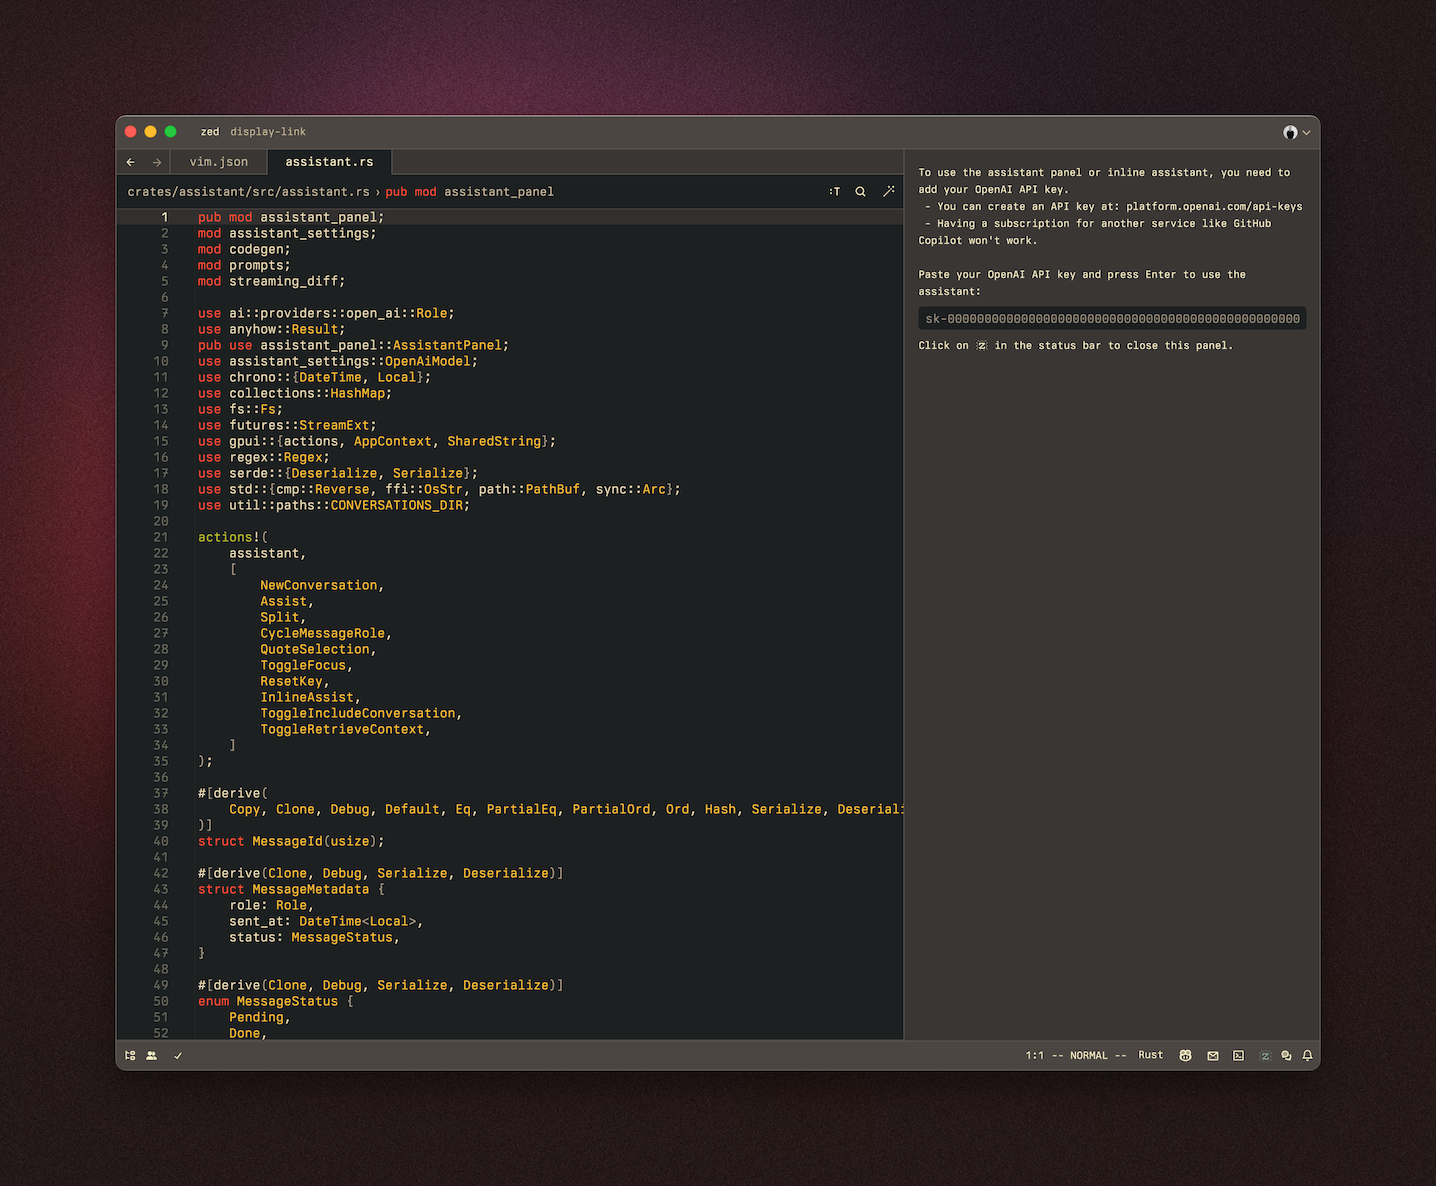
The OpenAI API key will be saved in your keychain.
Zed will also use the OPENAI_API_KEY environment variable if it's defined. If you need to reset your OpenAI API key, focus on the assistant panel and run the command palette action assistant: reset key.
Having a conversation
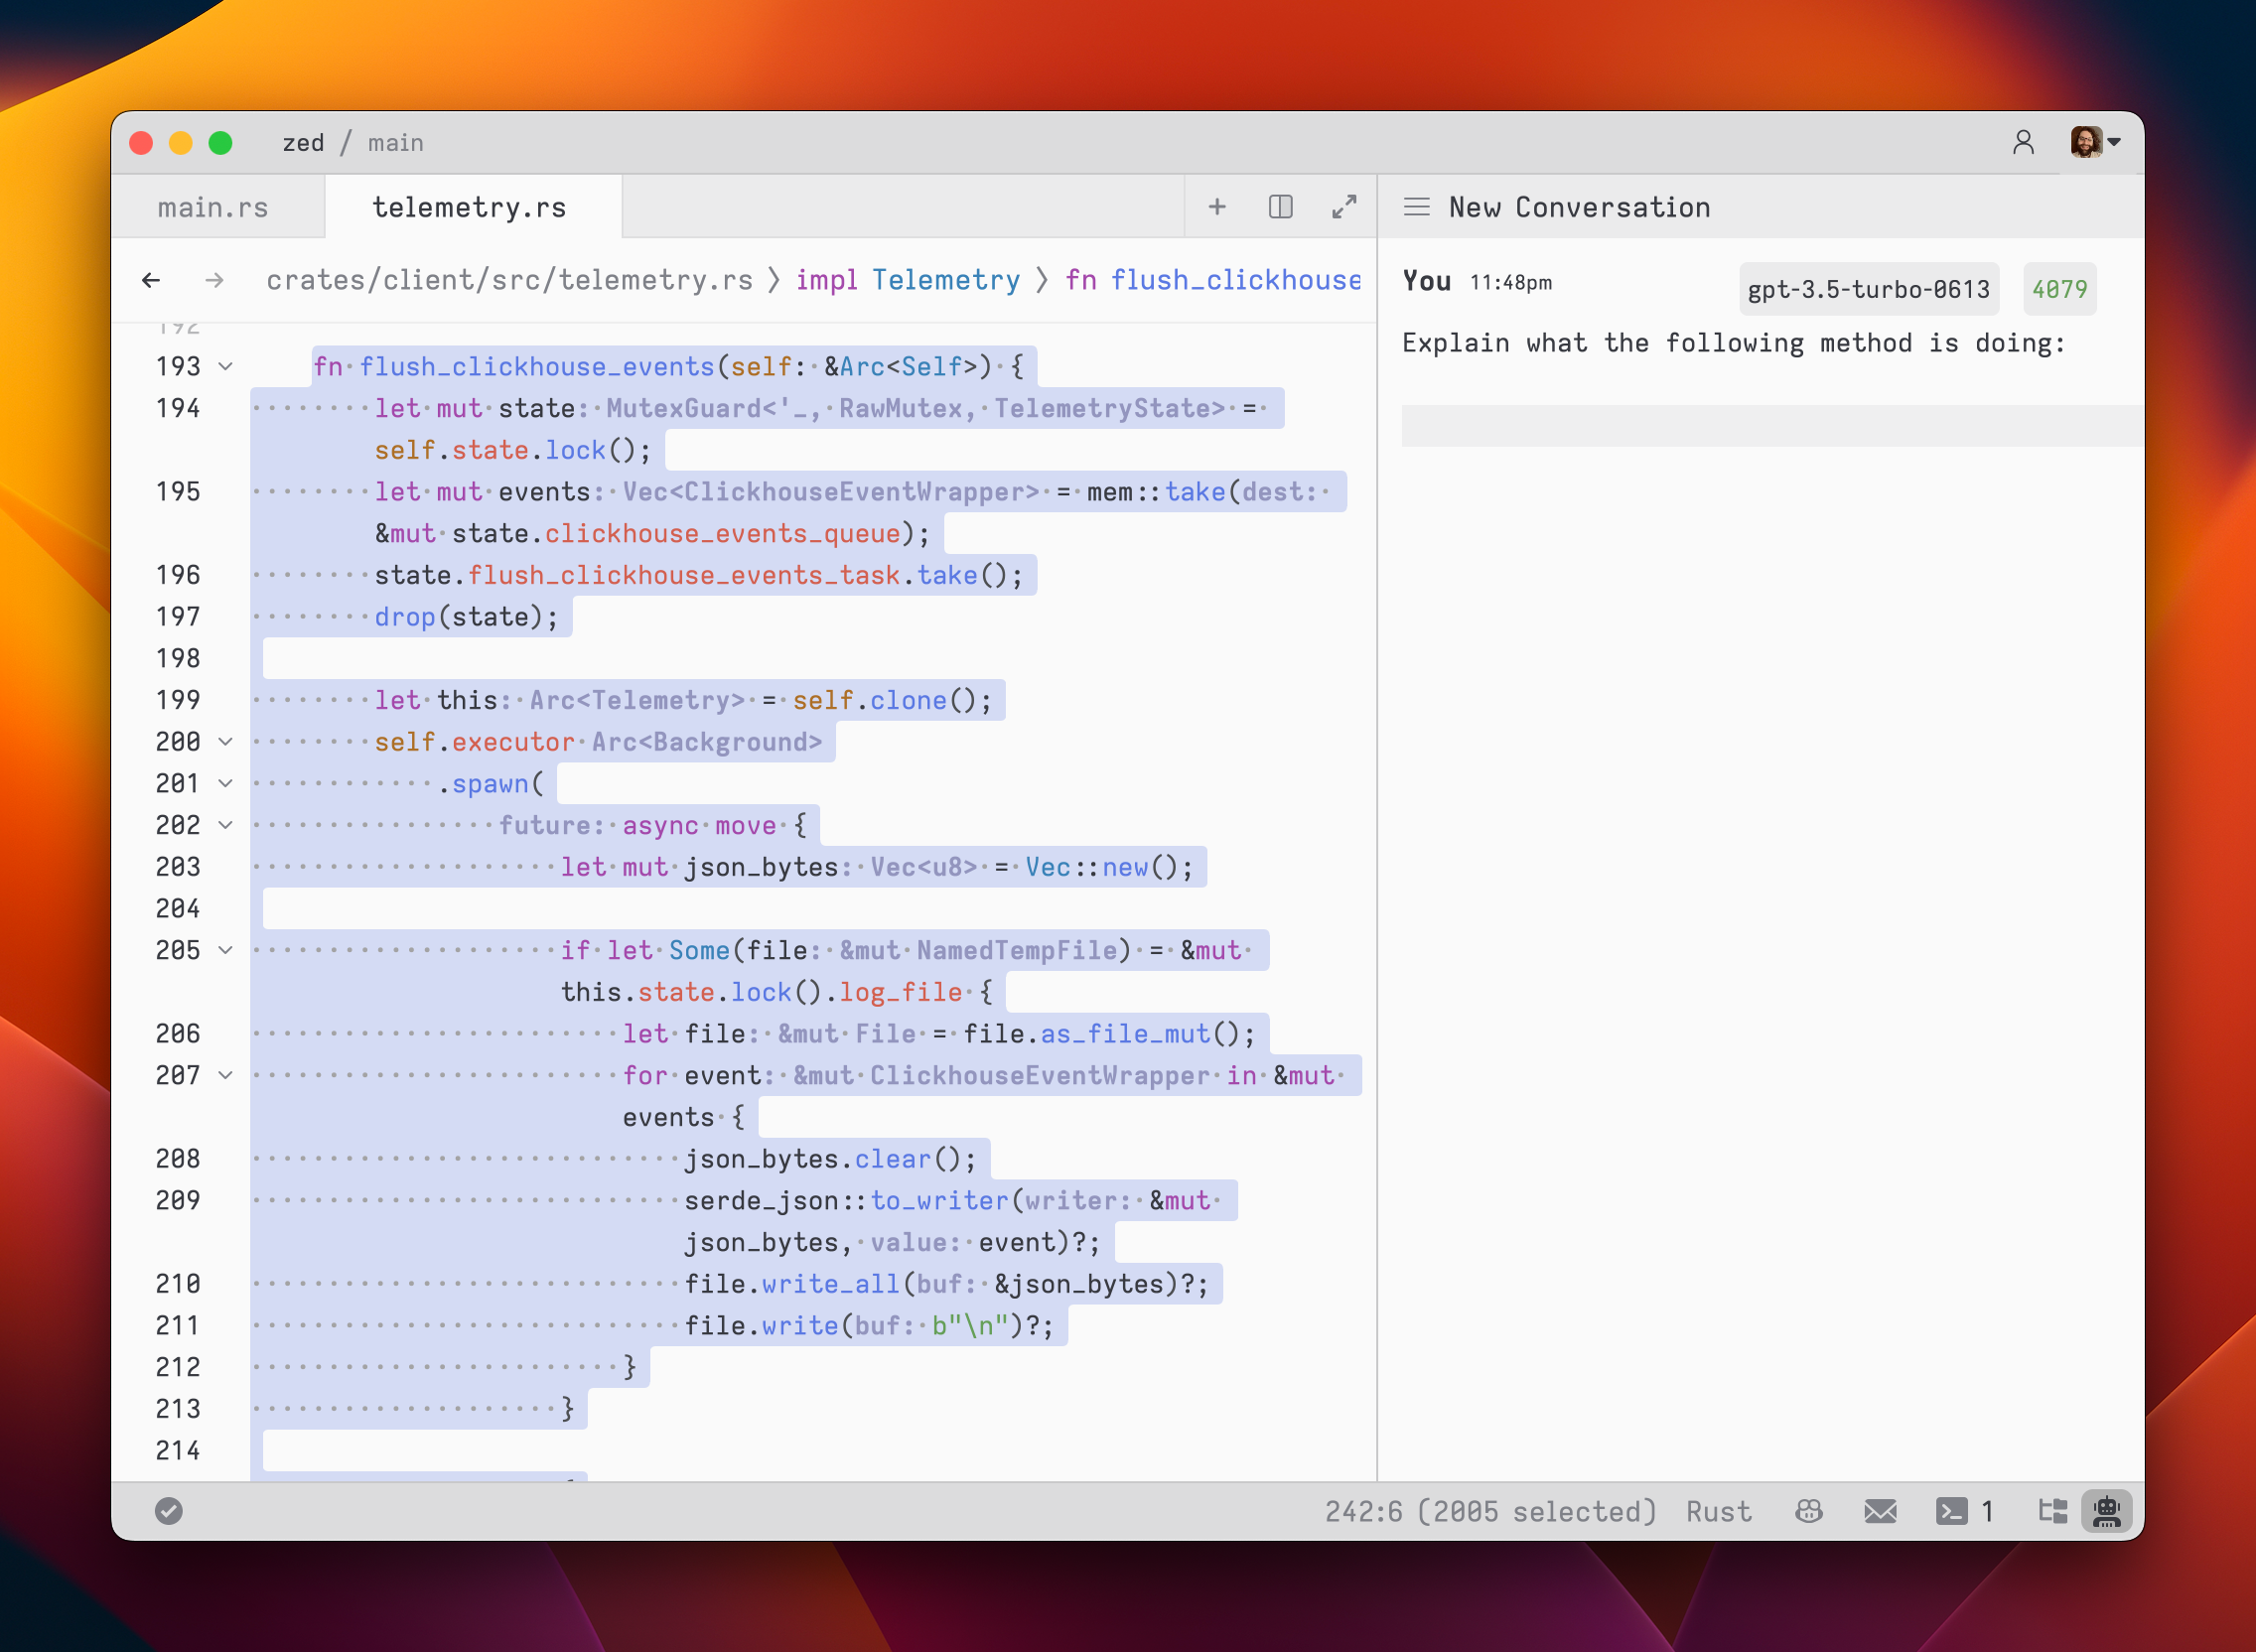
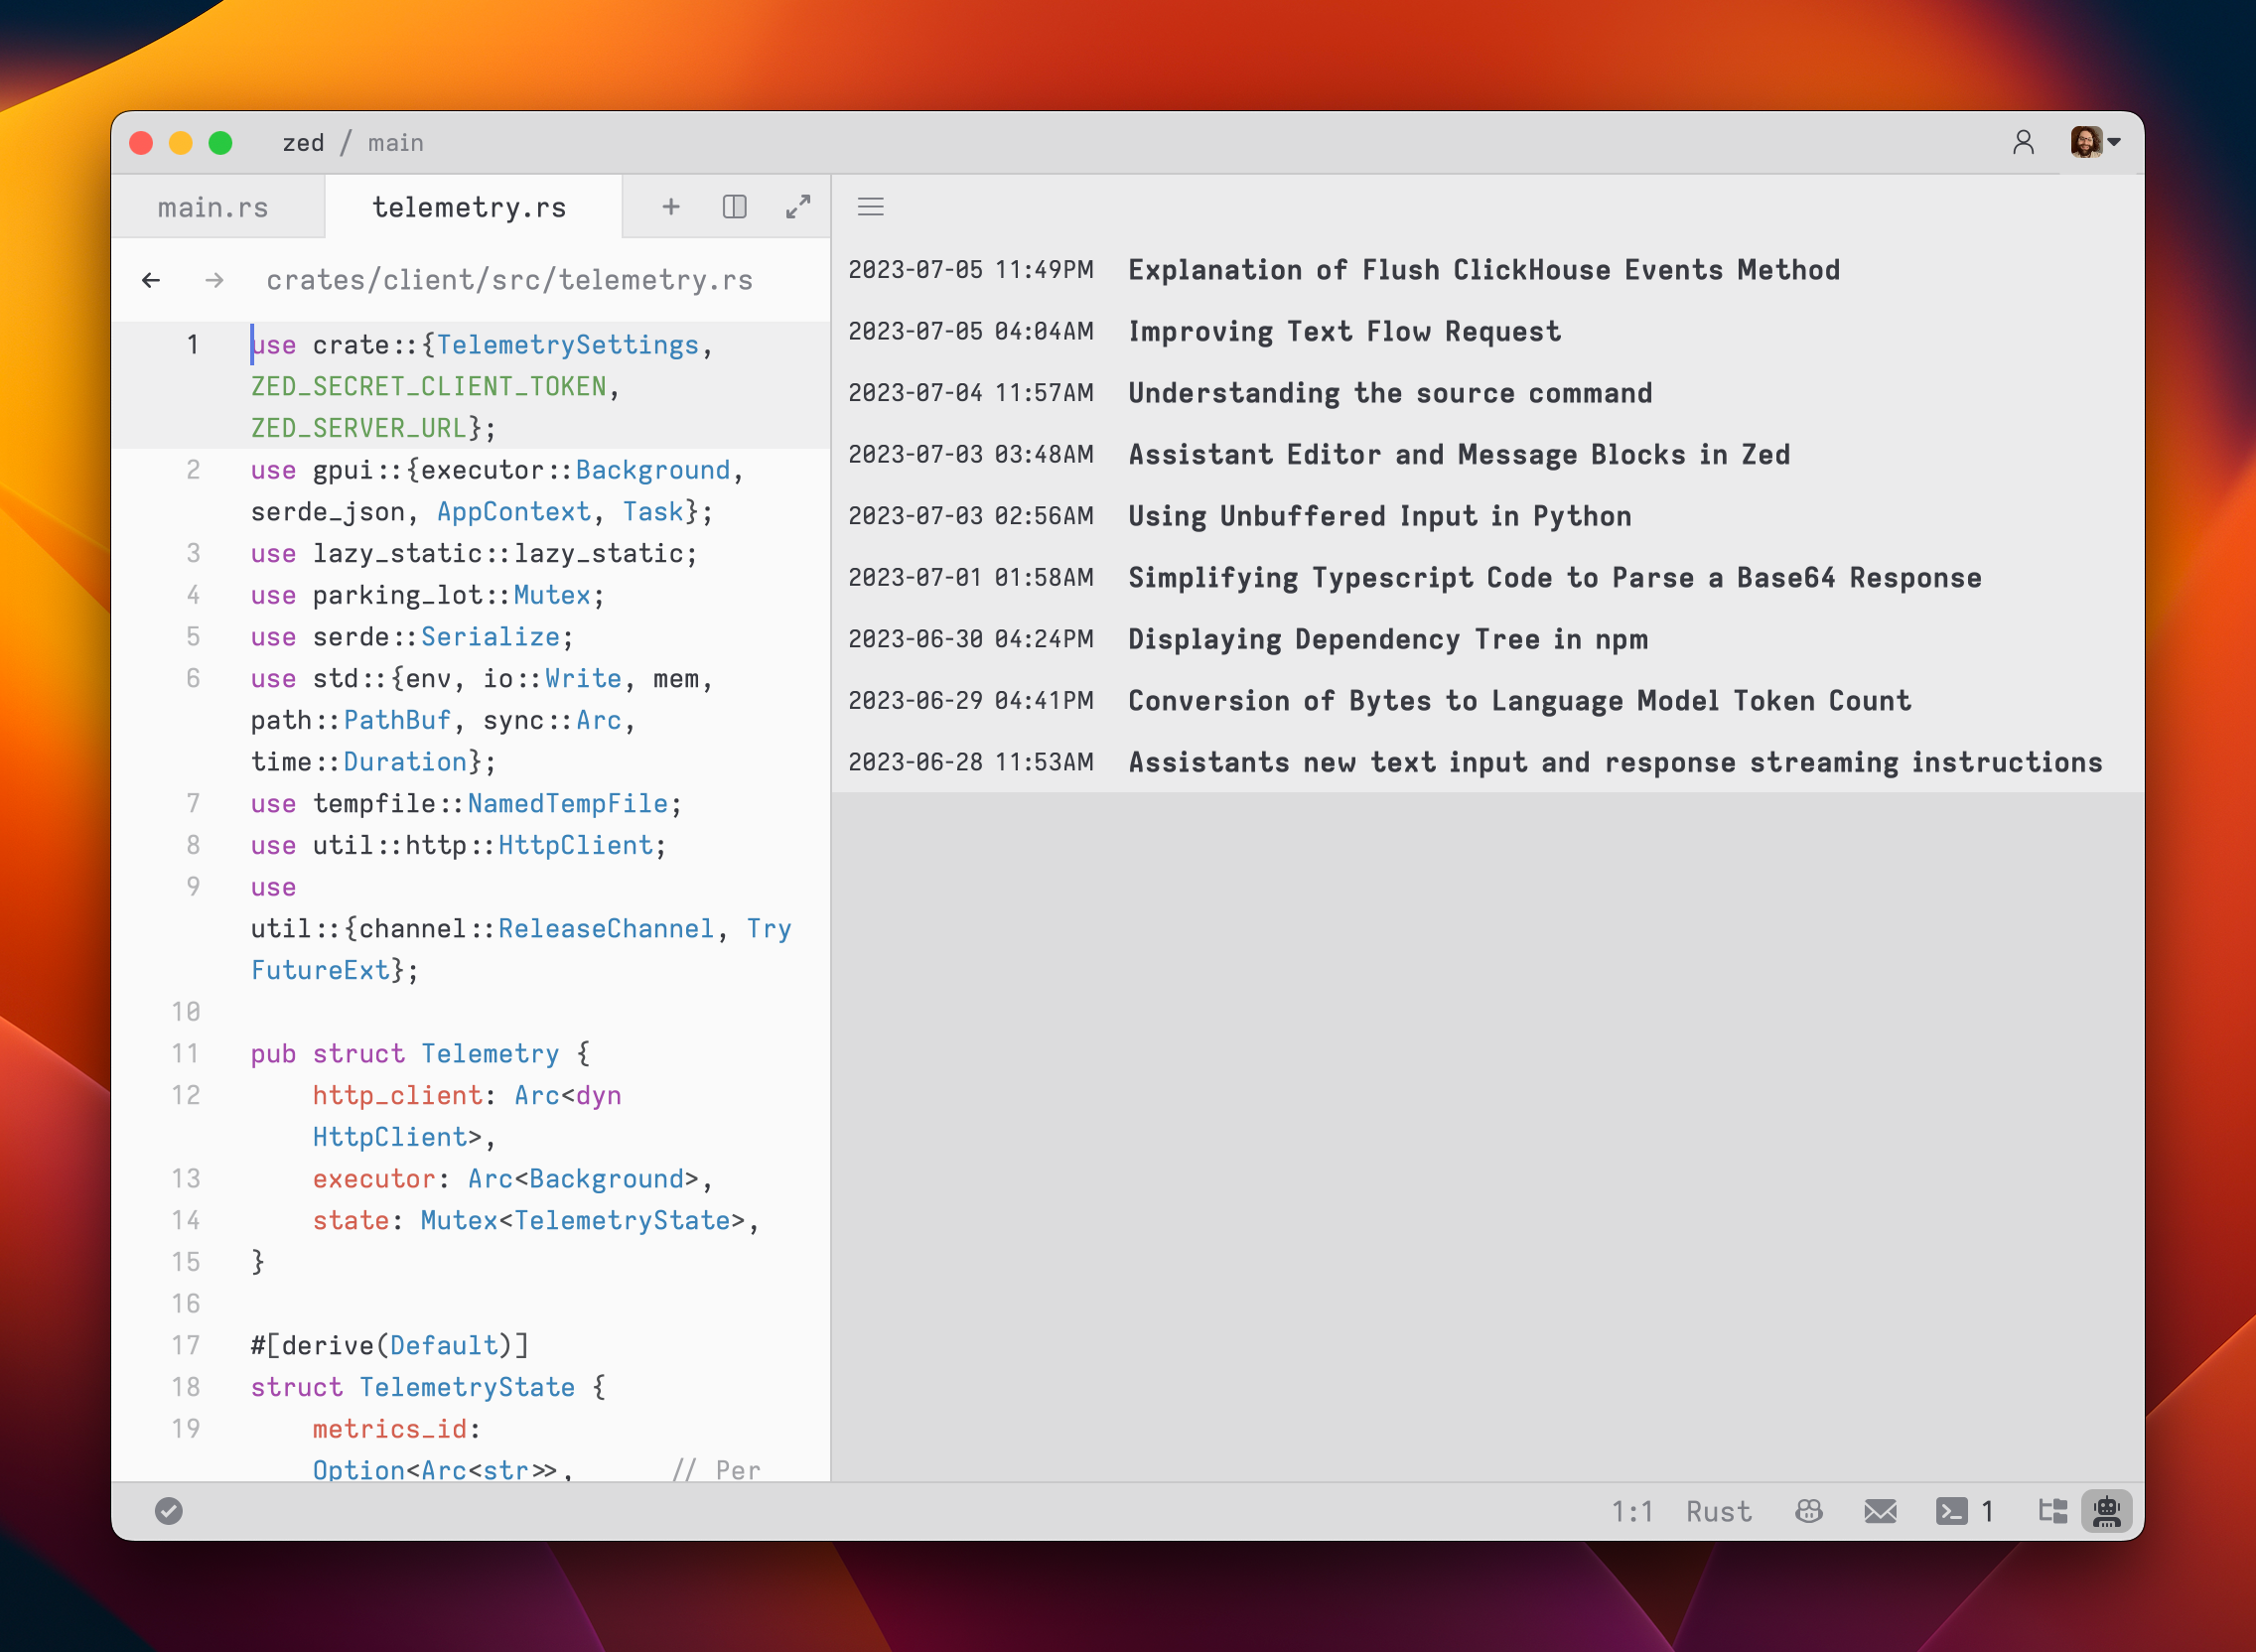
The assistant editor in Zed functions similarly to any other editor. You can use custom key bindings and work with multiple cursors, allowing for seamless transitions between coding and engaging in discussions with the language models. However, the assistant editor differs with the inclusion of message blocks. These blocks serve as containers for text that correspond to different roles within the conversation. These roles include:
YouAssistantSystem
To begin, select a model and type a message in a You block.
As you type, the remaining tokens count for the selected model is updated.
Inserting text from an editor is as simple as highlighting the text and running cmd-> (assistant: quote selection); Zed will wrap it in a fenced code block if it is code.
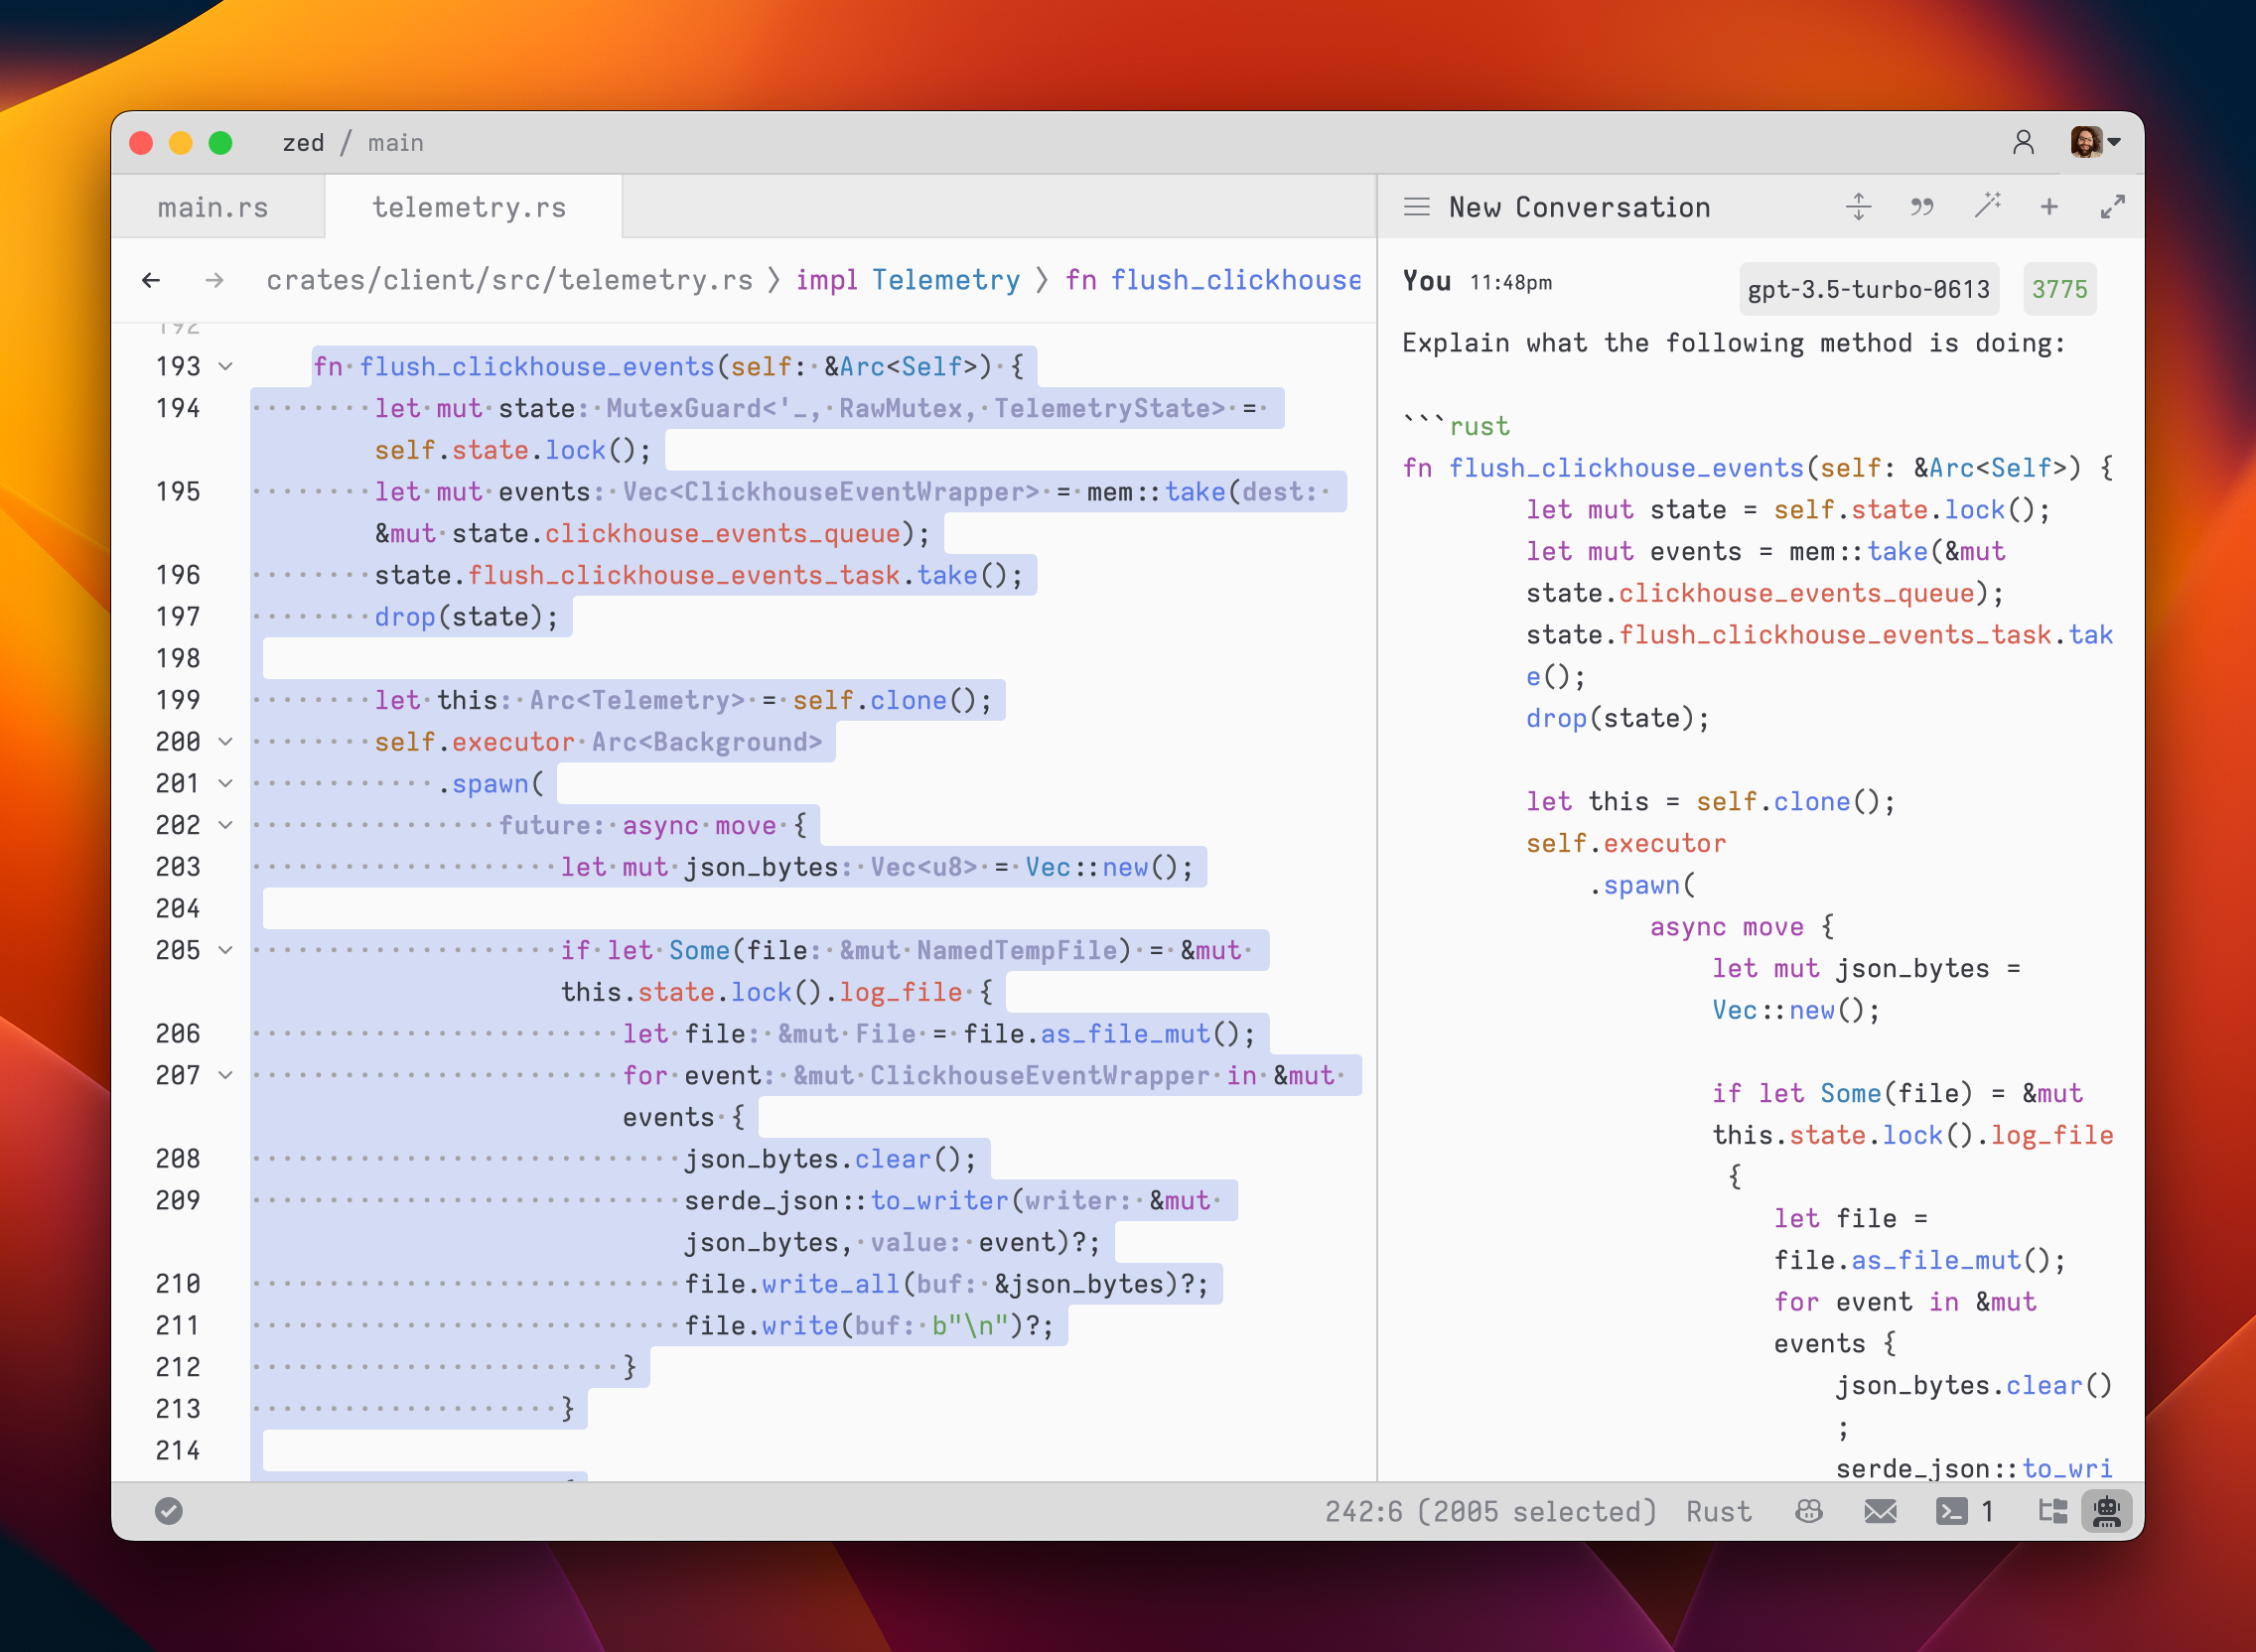
To submit a message, use cmd-enter (assistant: assist). Unlike typical chat applications where pressing enter would submit the message, in the assistant editor, our goal was to make it feel as close to a regular editor as possible. So, pressing enter simply inserts a new line.
After submitting a message, the assistant's response will be streamed below, in an Assistant message block.

The stream can be canceled at any point with escape. This is useful if you realize early on that the response is not what you were looking for.
If you want to start a new conversation at any time, you can hit cmd-n or use the New Context menu option in the hamburger menu at the top left of the panel.
Simple back-and-forth conversations work well with the assistant. However, there may come a time when you want to modify the previous text in the conversation and steer it in a different direction.
Editing a conversation
The assistant gives you the flexibility to have control over the conversation. You can freely edit any previous text, including the responses from the assistant. If you want to remove a message block entirely, simply place your cursor at the beginning of the block and use the delete key. A typical workflow might involve making edits and adjustments throughout the conversation to refine your inquiry or provide additional context. Here's an example:
- Write text in a
Youblock. - Submit the message with
cmd-enter - Receive an
Assistantresponse that doesn't meet your expectations - Cancel the response with
escape - Erase the content of the
Assistantmessage block and remove the block entirely - Add additional context to your original message
- Submit the message with
cmd-enter
Being able to edit previous messages gives you control over how tokens are used. You don't need to start up a new context to correct a mistake or to add additional context and you don't have to waste tokens by submitting follow-up corrections.
Some additional points to keep in mind:
- You are free to change the model type at any point in the conversation.
- You can cycle the role of a message block by clicking on the role, which is useful when you receive a response in an
Assistantblock that you want to edit and send back up as aYoublock.
Saving and loading conversations
After you submit your first message, a name for your conversation is generated by the language model, and the conversation is automatically saved to your file system in ~/.config/zed/conversations. You can access and load previous messages by clicking on the hamburger button in the top-left corner of the assistant panel.
Multiple cursor demo
The assistant is capable of sending multiple requests, and receiving multiple responses, in parallel. Here's a demo.
Using a custom API endpoint for OpenAI
You can use a custom API endpoint for OpenAI, as long as it's compatible with the OpenAI API structure.
To do so, add the following to your Zed settings.json:
{
  "assistant": {
    "version": "1",
    "provider": {
      "name": "openai",
      "type": "openai",
      "default_model": "gpt-4-turbo-preview",
      "api_url": "http://localhost:11434/v1"
    }
  }
}
The custom URL here is http://localhost:11434/v1.
Using Ollama on macOS
You can use Ollama with the Zed assistant by making Ollama appear as an OpenAPI endpoint.
- Add the following to your Zed
settings.json:
{
  "assistant": {
    "version": "1",
    "provider": {
      "name": "openai",
      "type": "openai",
      "default_model": "gpt-4-turbo-preview",
      "api_url": "http://localhost:11434/v1"
    }
  }
}
- Download, for example, the
mistralmodel with Ollama:
ollama run mistral
- Copy the model and change its name to match the model in the Zed
settings.json:
ollama cp mistral gpt-4-turbo-preview
- Use
assistant: reset key(see the Setup section above) and enter the following API key:
ollama
- Restart Zed
Using Claude 3.5 Sonnet
You can use Claude with the Zed assistant by adding the following settings:
"assistant": {
  "version": "1",
  "provider": {
    "default_model": "claude-3-5-sonnet",
    "name": "anthropic"
  }
},
When you save the settings, the assistant panel will open and ask you to add your Anthropic API key. You need can obtain this key here.
Even if you pay for Claude Pro, you will still have to pay for additional credits to use it via the API.
Prompt Library
Warning: This feature is experimental and the format of prompts is highly likely to change. Use at your own risk!
Zed has a prompt library that allows you to manage prompts.
These are useful for:
- Creating a "default prompt" - a super prompt that includes a collection of things you want the assistant to know in every conversation.
- Adding single prompts to your current context to help guide the assistant's responses.
- (In the future) dynamically adding certain prompts to the assistant based on the current context, such as the presence of Rust code or a specific async runtime you want to work with.
You can access the prompt manager by selecting Prompt Library... from the assistant panel's more menu.
By default when opening the assistant, the prompt manager will load any custom prompts present in your ~/.config/zed/prompts directory.
Checked prompts are included in your "default prompt", which can be inserted into the assistant by running assistant: insert default prompt or clicking the Insert Default Prompt button in the assistant panel's more menu.
Creating a custom prompt
Prompts have a simple format:
---
title: Foo
version: 1.0
author: Jane Kim <jane@kim.com
languages: ["*"]
dependencies: []
---

Foo and bar are terms used in programming to describe generic concepts.
In the future we'll allow creating and editing prompts directly in the prompt manager.